Step 1: Import your STL files.
See detailed instructions here
Step 2: Move, Scale, and Rotate Objects into Position
You can utilize the quick tools on the left side of the screen to move, scale, and rotate your objects to their desired positions.

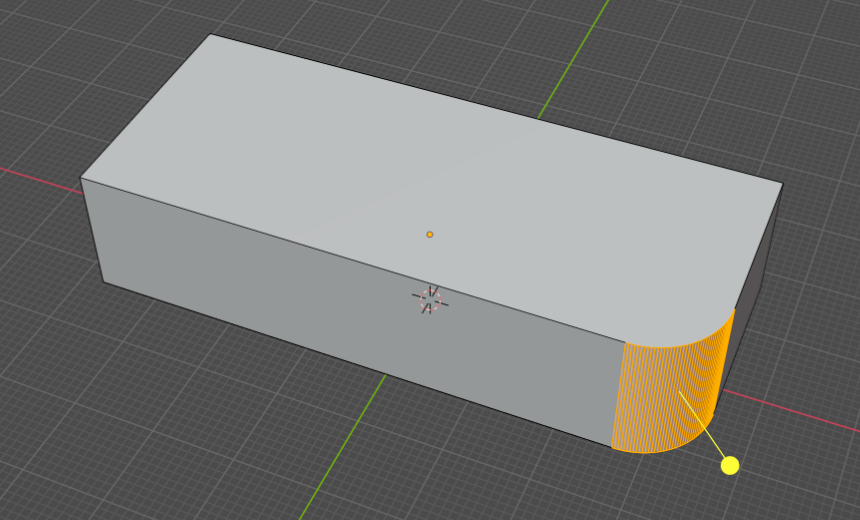
Step 3: Select the Main Object and Add a Boolean Modifier
First, select the primary object you wish to join with others. Next, navigate to the modifiers panel (represented by a blue wrench icon) on the right side of the screen. Click on "Add Modifier" and choose "Boolean." Set the mode to "Union" to merge two objects. For the "Object" field, pick the object you wish to join with your main object. To apply the modifier, click the small drop-down arrow next to the camera icon and choose "Apply."


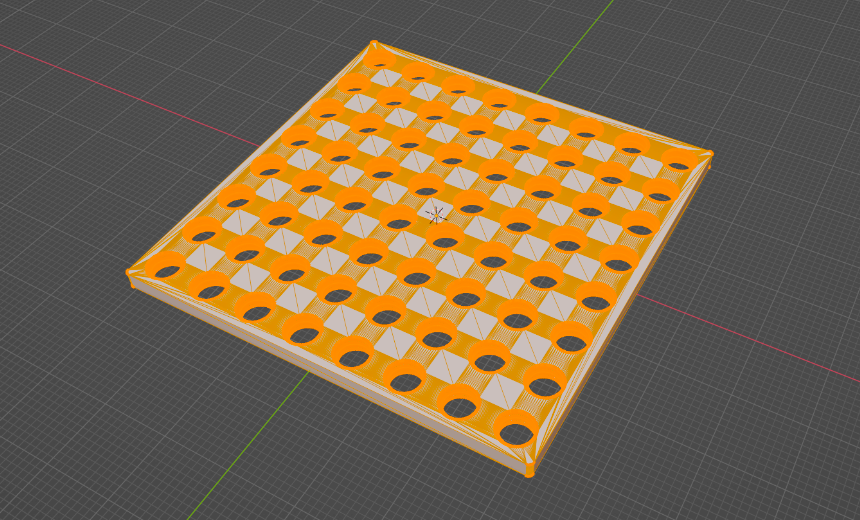
Step 4: Delete the Object You Combined to Your Main Shape
Once you've applied the Boolean modifier, the object you merged with your main object will remain visible. Their overlapping faces might create a glitch-like appearance. To remove this redundant object, select it and press "X" on your keyboard.

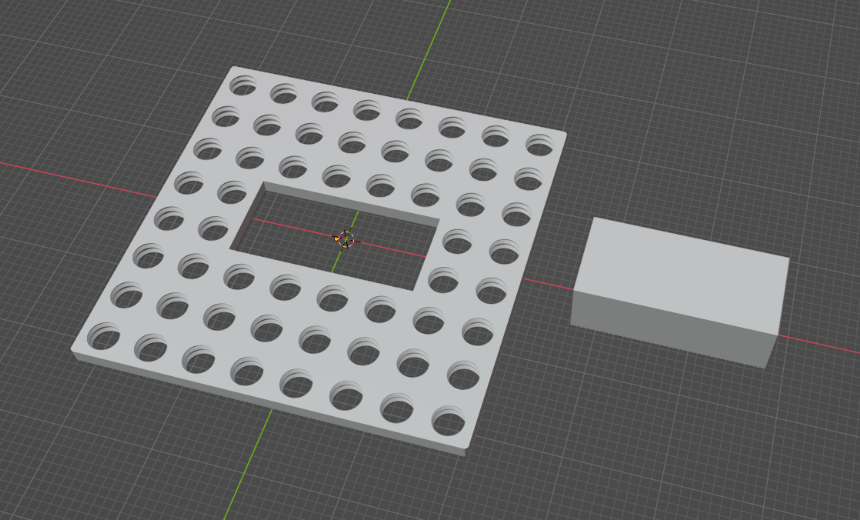
Step 5: Go into Edit Mode to Check the Mesh.
After applying the modifier and removing the duplicate object, switch to Edit Mode. You can do this by selecting the appropriate option from the drop-down menu on the top left. Inspect the mesh closely to make sure it looks ok. There shouldn't be any overlapping faces or holes in the mesh.

Step 5: Export the Modified STL File
Go to File ➡️ Export ➡️ STL.
If you have any questions feel free to reach out to info@3dprinteracademy.com. We usually respond in under 24 hours.