Step 1: Delete Default Objects
3D printable designs are most commonly stored digitally on a computer as STL files. With Blender, you can import any STL file you'd like to modify. Before we import an STL, let's clear any existing objects from our scene.
How to Delete all Existing Objects in a Blender Scene:
- Simply press "A" to select all the objects in the scene.
- Press "X" to open the delete dialog box and either navigate to "delete" or simply press "D".

Step 2: Import STL File
To load a 3D model or STL into our now-empty scene, navigate to File ➡️ Import ➡️ STL. Upon importing an STL file, it might not be centered in Blender's viewport, or it could appear extremely large. Here's how you can move the object to the center of the scene in Blender and adjust the view to fit the object:

Step 3: Center the STL File and Fix View Clipping:
Depending on how the designer exported their design, the model might not be centered in the Blender scene upon import. Additionally, as you zoom out, the model might start "clipping." First, let's address the clipping issue, and then we'll move on to centering the object. We'll need to center it in two ways: setting the object's origin point to (0,0,0) and aligning all of its individual vertices.
Fixing Viewport Clipping and Setting Origin Point to (0,0,0):
Open the view panel by pressing "N" on your keyboard. Select the "View" tab and adjust the "End" value to 10,000 or a higher value, depending on the size of the object within the scene. Next, navigate to the "Item" tab and set the X, Y, Z location coordinates to (0,0,0).

Step 5: Set the Object's Origin Point to the Center of it Vertices:
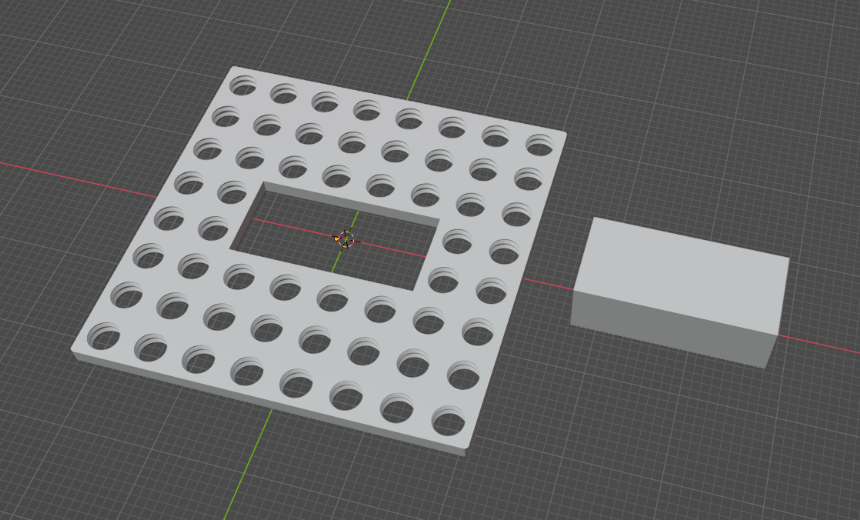
Now that we have set the object's origin point to (0,0,0), we can also center the object's vertices around the origin. The images below will help clarify:

You can see that the object's origin point is at the scene's (0,0,0) coordinates, but the origin is still on the corner of the object and not in the center. To fix this, we need to go into Edit Mode where we can select all the object's vertices, the points that make up the object/STL file.
To go into Edit Mode, click the drop-down on the top left that says "Object Mode". In Blender, Object Mode allows you to move, scale, rotate, and apply modifiers to the object. Edit Mode, on the other hand, lets you modify the vertices, edges, and faces of an object.

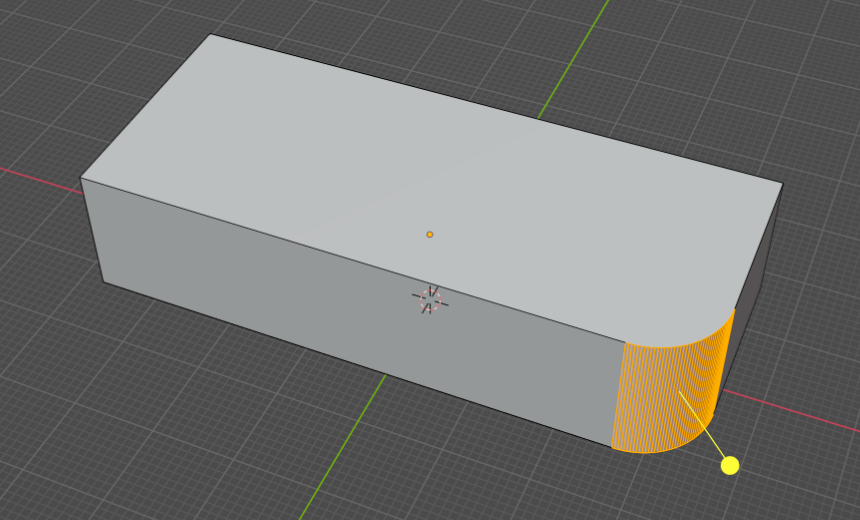
In Edit Mode, press "A" to select all vertices. The vertices and edges should turn yellow/orange to indicate they are selected. Now, press "N" to open the item properties panel and set the global median coordinates to (0,0,0).

Now that the object is centered, return to "Object Mode".